
So I saw this calendar on
Pintrest from
Hey, things change! and I thought hmmm I could do something like that. This calendar was done on a big notepad so you would have to make a new one each month- I thought that would be a lot of paint chips and quite the commitment to always making a new one every month. SO I decided to make one inside a frame and use the glass like a white board to write the numbers and what-not on it.
Here's what I did:
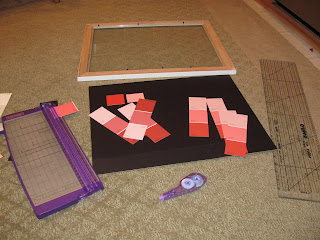 |
| Gather supplies: paint chips, paper cutter, tape, ruler, empty frame (16x20) |
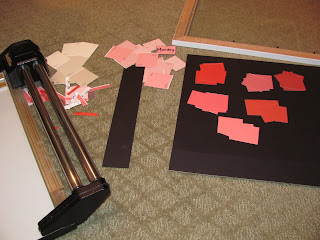 |
| Cut paint chips apart |
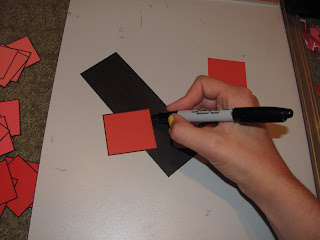 |
| Outline each chip with a black sharpie |
 |
| Lay out the paint squares to make sure you have seven columns and five rows |
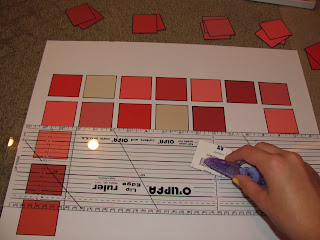 |
| Once you have an idea of where they will all go, tape away! |
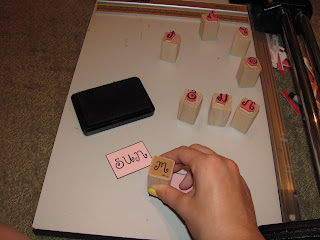 |
| I used stamps for each day of the week- Sun, Mon, etc. |
 |
| The finished product! |
Now all I need are some dry erase markers to fill in the dates and what's happening! Although it took me a few hours to complete the whole thing (it would have been done quicker if I was less OCD about perfection in crafts) I think it was totally worth it. It's a little more fun than the white board calendars you can buy at the store and much cheaper! (since I already had all the supplies, minus the paint chips- which I picked up at Lowes this morning). I'm excited because it should go quite nicely with the duvet cover and pillow I picked up at IKEA for my room this year :)
I love Pintrest and have spent so much time looking at blogs with cute crafty ideas, yet I haven't really made anything I have seen. I always think "ohh I should do that someday..." and then nothing. So I am making a goal to be more crafty and try more of the recipes I find too. We shall see how that goes...


LOVE this idea. What size frame did you use?
ReplyDeletesooo cute!! i am totally going to make one and have it in my room too! ya, what size frame did you use?
ReplyDelete